


Table of Contents
ToggleA kitchen renovation doesn’t need to drain your bank account to transform the heart of your home. Thousands of homeowners are proving that smart prioritization, strategic DIY projects, and savvy material sourcing deliver stunning results without the luxury-home price tag. Whether you’re working with $3,000 or $10,000, this roadmap breaks down where to focus your effort and money for maximum impact. The key isn’t doing everything, it’s doing the right things first.
Key Takeaways
- A budget kitchen renovation succeeds by prioritizing functionality over aesthetics and fixing pain points first, allocating roughly 30–40% to cabinets, 20–25% to countertops, and 15–20% to appliances.
- Paint, cabinet hardware, and lighting deliver maximum impact for minimal cost—fresh paint ($300–600), new hardware ($150–300), and LED strips or pendant lights ($80–300) can make an old kitchen feel current.
- Smart DIY projects like painting, hardware swaps, backsplash tiling, and demolition save money, but hire professionals for plumbing, gas hookups, electrical work, and stone countertop fabrication to avoid costly mistakes.
- Choose intentional, durable materials—vinyl plank flooring, quality laminate countertops, mid-range paint, and ceramic tile backsplash ($2–8 per sq. ft.)—over cheap options that wear out quickly.
- A successful budget kitchen renovation mixes DIY effort with strategic professional help and careful material sourcing, ensuring every dollar serves a real purpose rather than chasing Instagram-worthy finishes.
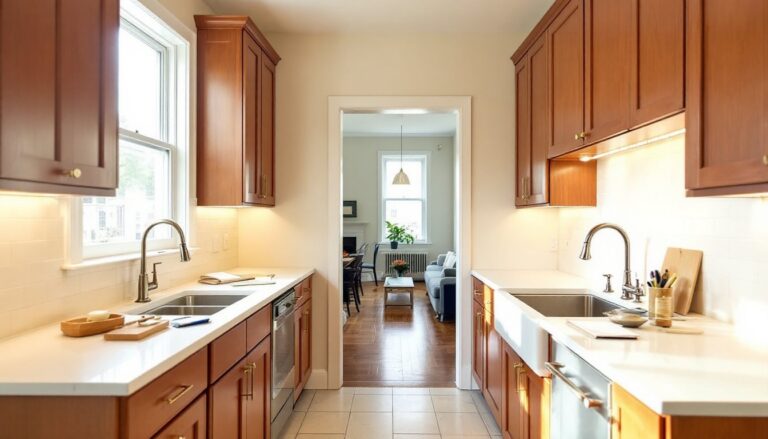
Set A Realistic Budget And Prioritize Your Upgrades
Before you buy anything, nail down your total budget and decide what matters most. A kitchen renovation on a shoestring means every dollar counts, so rank your priorities: functionality first, then aesthetics. Start by listing what doesn’t work, Does the sink leak? Are counters too small? Does the lighting leave you squinting? Fix those pain points before chasing Instagram-worthy finishes.
Create a line-item budget breaking down cabinets, countertops, appliances, flooring, paint, and hardware. Use a Home Renovation Budget Template to track every expense and avoid scope creep. Allocate roughly 30–40% to cabinets (or refacing), 20–25% to countertops, 15–20% to appliances, and the rest to flooring, backsplash, and finishing touches. This isn’t gospel, your actual split depends on what you’re replacing, but it’s a solid starting point. Be honest about what you can DIY versus what needs a pro, because a botched install costs far more than hiring help upfront.
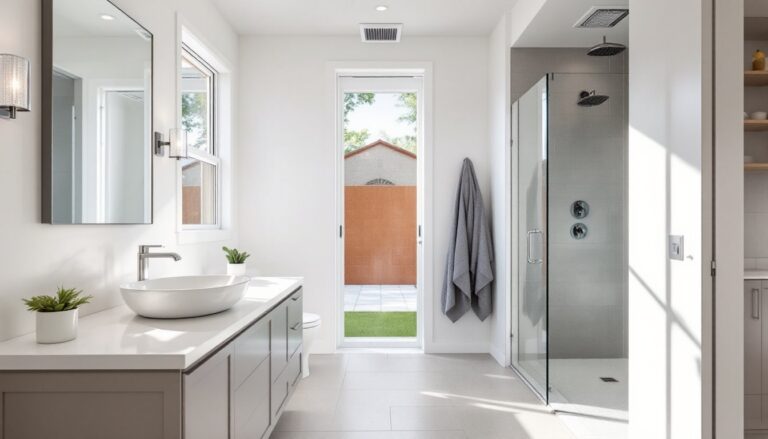
Assess Your Current Kitchen And Identify Pain Points
Walk through your kitchen like you’re seeing it for the first time. Note the layout, appliance placement, storage, natural light, and workflow. Does water pool on the counter? Are cabinets sagging? Is the backsplash cracked tile or missing grout? These aren’t cosmetic, they drive daily frustration and affect how much you’ll spend fixing them.
Measure your space carefully: counter length, cabinet widths, ceiling height, electrical outlet and window locations, and doorway clearances. A kitchen’s layout is partly determined by plumbing and gas line location: moving these costs serious money, so a layout tweak is often cheaper than a full reposition. Snap photos and jot notes. Budget kitchen renovations succeed when you work with what you have, not against it. If your appliances run fine and plumbing is sound, you’ve already dodged major costs. Focus your budget on surfaces, finishes, and small functionality upgrades instead.
Strategic Upgrades That Deliver Maximum Impact
Paint, Hardware, And Lighting: The Budget-Friendly Trio
These three upgrades are the bread and butter of budget kitchen renovations. Start with semi-gloss or satin finish paint, it’s wipeable, hides minor wall imperfections, and comes in thousands of colors. Budget $300–600 for primer, paint, and supplies (roller, brushes, tape, drop cloth) for a 200–250 sq. ft. kitchen. Prep work is everything: fill nail holes, sand glossy surfaces lightly, patch drywall, and tape off trim. Cheap paint applied to unprepped walls looks amateur within months.
Cabinet hardware, knobs and pulls, is pure personality and pure DIY. Swap out old hardware in 2–3 hours with a cordless drill and a measuring tape. Pre-drill holes to avoid splitting, especially on veneer doors. Budget $150–300 for hardware across 15–25 cabinet doors and drawers. This single change, combined with fresh paint, can make a 15-year-old kitchen feel current.
Lighting transforms how a kitchen functions and feels. Under-cabinet LED strips ($80–200 for a full kitchen) illuminate counters and reduce shadows. Pendant lights over an island or bar seating ($100–300 for a pair) add task and ambient light plus visual interest. Swap existing overhead fixtures for modern LED equivalents ($50–150 each). Lighting is simple wiring for someone comfortable with basic electrics, flip the breaker, pull the old fixture, and wire in the new one. If you’re not confident, hire an electrician for 1–2 hours: it’s cheaper than a mistake.
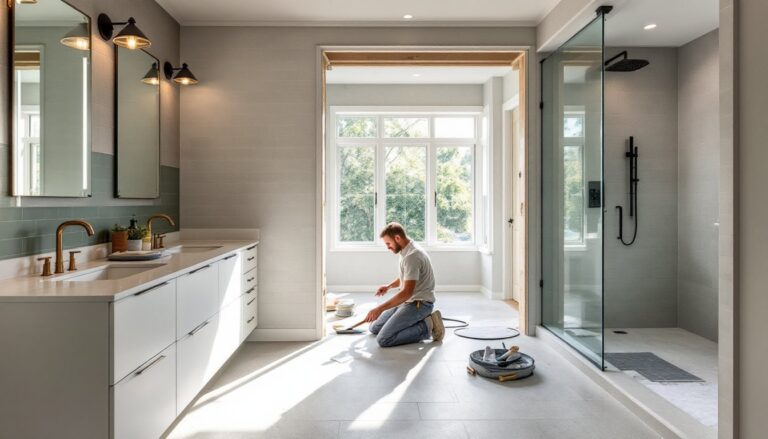
DIY Installation vs. Professional Help: When To Save And When To Splurge
Successful budget renovations often mix DIY and hired help. Know your limits. Cabinet refacing, painting, hardware installation, and backsplash tile are solid DIY projects if you’re careful and methodical. Plumbing, gas line work, and structural changes aren’t, mistakes are expensive and unsafe.
Countertop installation depends on the material. Laminate over-the-top installs are DIY-friendly if your existing counters are sound: solid surface requires precision cutting and should go to a pro. Real stone (granite, quartz) is professional-only: fabrication, delivery, and sealing require specialized tools and skill. Appliance swap is DIY if you’re just plugging in and unbolting: gas stove hookup and dishwasher integration with custom trim demand a licensed installer.
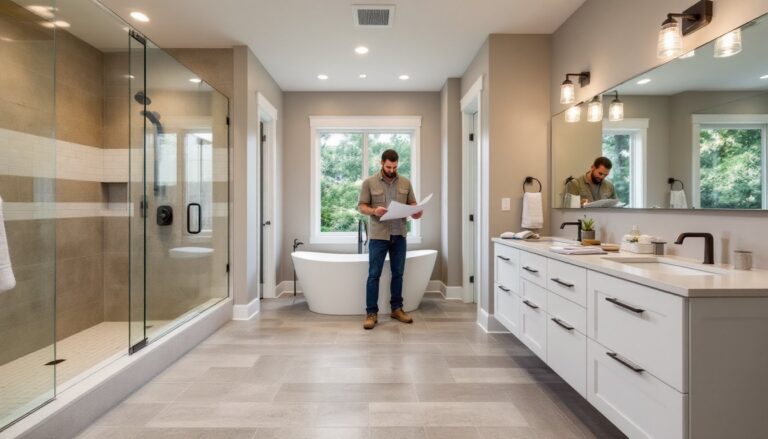
Hire a pro for: plumbing rough-in, gas appliance hookups, electrical panel work, cabinet fabrication and delivery, and any structural changes. DIY: demolition, painting, small tile work, hardware swaps, lighting fixture changes (if you turn off power first), and countertop prep. A few hours of pro labor upfront, $150–300 for a consultant to review your plan, prevents costly errors and keeps you compliant with local codes. Your time has value too: if a 10-hour backsplash tile project would stress you, pay someone $400 to finish it cleanly in a day.
Source Smart Materials And Affordable Alternatives
Budget doesn’t mean cheap. It means intentional. Invest in durable, high-ROI materials and compromise on low-impact finishes. Countertops are heavily used, so pick solid surface, quartz, or quality laminate over budget options that scratch and stain. Paint and hardware see daily wear too, buy mid-range paint (Sherwin-Williams, Benjamin Moore) and stainless or brushed-nickel hardware that won’t tarnish. Flooring gets walked on constantly: vinyl plank flooring is affordable, durable, waterproof, and installs quickly over existing floors.
Tile backsplash is where budget shines: subway, hexagon, or small-format ceramic tile costs $2–8 per sq. ft. installed by a DIY-er with patience and YouTube tutorials. Peel-and-stick backsplash tile ($1–3 per sq. ft.) delivers 80% of the look for 20% of the effort and cost, though it’s less durable long-term. Floor sources: big-box stores, discount tile outlets, and liquidation sales often have last-season or overstocked materials at 30–50% off. Check YoungHouseLove and ImproveNet for budget-friendly material ideas and real homeowner stories. Reclaimed or salvage wood for shelving, open shelving, or range hood trim costs less than new and adds character. Paint cabinets instead of replacing them, quality cabinet paint ($40–80 per gallon) sticks better and lasts longer than regular paint. Matte or satin finishes show fewer fingerprints than gloss.
Conclusion
A budget kitchen renovation is a marathon, not a sprint. Prioritize what matters, fix broken things first, then upgrade surfaces and finishes. Mix DIY smart projects with pro help where it counts. Choose durable, intentional materials over cheap shortcuts, and never skip prep work. Your shoestring kitchen will look and feel custom when every dollar serves a real purpose.