


Table of Contents
ToggleA bathroom tile renovation can breathe new life into one of your home’s most functional spaces, without the contractor price tag. Whether you’re updating a small powder room or tackling a full master bath overhaul, this guide walks you through every phase of a bathroom tile renovation, from planning and material selection to removal and installation. You’ll learn what tools you actually need, which prep steps separate the pros from the mishaps, and how to handle unexpected substrate damage. If you’ve got a weekend or two, some elbow grease, and the patience to get details right, you can pull this off.
Key Takeaways
- A successful bathroom tile renovation starts with assessing your current tiles, measuring square footage, and identifying substrate damage like water-spongy walls before selecting materials.
- Porcelain tile is the best choice for wet areas like showers and floors because it absorbs less than 0.5% water, while ceramic works for walls and moderate-moisture zones.
- Proper substrate preparation—including removing water-damaged drywall, repairing cracks, and using self-leveling compound—is critical to prevent tile cracking and grout failure months later.
- Use a notched trowel at 45 degrees to create mortar ridges, apply thin-set in small sections, and check level frequently during bathroom tile installation to avoid costly resetting.
- Allow at least 24 hours before grouting and 72 hours of cure time after grouting before exposing new tiles to water; epoxy grout in showers resists mildew better than standard Portland cement.
Assessing Your Current Tiles and Planning the Renovation
Before you swing a hammer, spend time understanding what you’re working with. Walk around your bathroom with a notepad and measure the total square footage of wall and floor tile you’ll be replacing. Sketch a rough layout, noting the position of fixtures like the toilet, vanity, and shower enclosure. These won’t move (unless you’re doing a full remodel), so they dictate how your new tile lines up.
Next, identify your tile type. Is it ceramic, porcelain, or natural stone like slate? Ceramic is lighter and more porous: porcelain is denser and more water-resistant. Natural stone requires different sealers and can be fragile during removal. Take a photo of your grout color too, it tells you whether your original install used sanded or unsanded grout, which matters for matching repairs later if needed.
Check for any soft spots, water damage, or mold around the shower or tub. Press on the wall substrate with a putty knife. If it feels spongy, that’s a red flag: the drywall or cement board underneath has absorbed water and will need replacement before new tile goes down. This isn’t cosmetic, it’s structural. Note these problem areas on your sketch: they’ll inform your budget and timeline.
Choosing the Right Tiles for Your Bathroom Style
Material choice shapes both aesthetics and function. Porcelain tile is your best bet for wet areas like shower surrounds and floors, it absorbs less than 0.5% water, making it genuinely waterproof when properly grouted. Ceramic works for walls and moderate-moisture zones but can eventually absorb water if grout fails. For floors, stick with textured or matte finishes: glossy tile becomes a slipping hazard when wet.
Size matters too. Large tiles (12×24 inches and up) mean fewer grout lines and look more spacious, but they demand a flatter substrate and more precise cuts. Small subway tiles or mosaics are forgiving on uneven surfaces and work in tight spaces, but you’ll have exponentially more grout lines to clean and maintain.
Color and pattern set the mood. Light tiles reflect moisture and make compact bathrooms feel larger. Dark tile hides water spots but shows dust. Linear or staggered layouts create visual interest: running bond patterns align tiles like brick. Consider samples in your actual bathroom lighting, what looks great under showroom lights might feel dim or stark at home. Homeowners undertaking bathroom remodel inspiration often find that curating design inspiration alongside material shopping ensures cohesion.
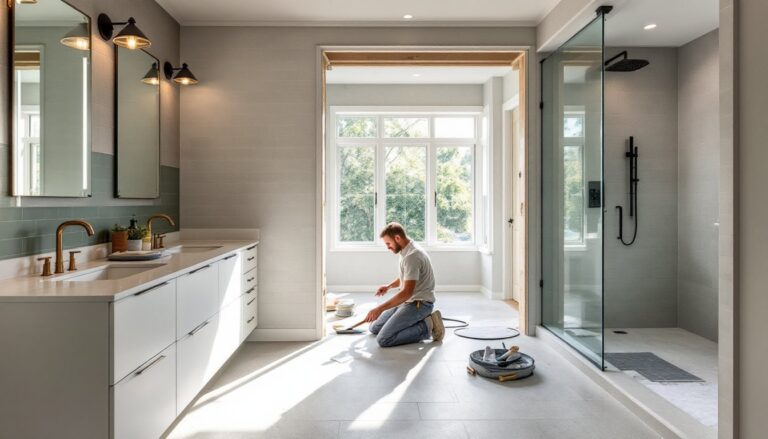
Preparing Your Bathroom for Tile Installation
Removing Old Tiles Safely and Efficiently
Tile removal is messy, dusty, and often more labor-intensive than people expect. Wear safety glasses, a dust mask (N95 minimum), heavy gloves, and ear protection, a cold chisel and hammer create a lot of noise and flying debris.
Start by turning off water to the bathroom if you’re working near plumbing fixtures. Use a cold chisel (1–2 inches wide) and a 3-pound hammer to chip away at grout lines, working systematically from one corner. Some pros rent a pneumatic tile stripper for large areas, it’s loud but cuts labor time by half. Another option is a grinder fitted with a diamond blade, though that kicks up silica dust: use a wet grinder or wear a P100 respirator if you go this route.
Work tile by tile, angling your chisel slightly underneath each one to pop it free. It’s slow and repetitive, but rushing risks gouging the substrate beneath. Once tiles are gone, scrape off old mortar and grout. Use a margin trowel or putty knife to clear as much as possible, then grind or sand any remaining bumps if the substrate is solid concrete.
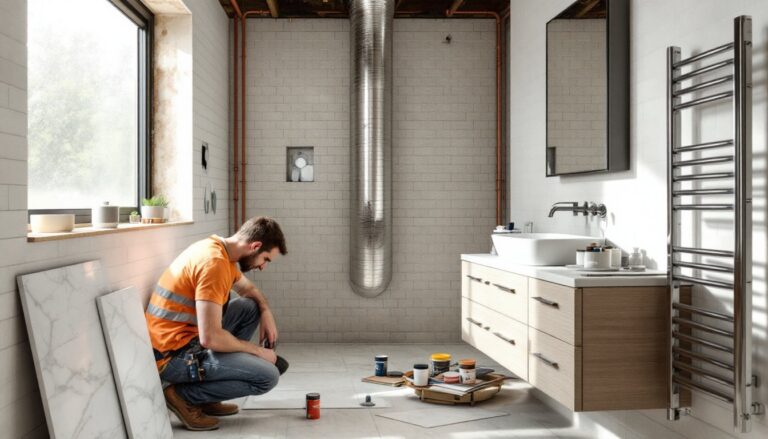
Inspecting and Repairing Substrate Damage
With tiles removed, inspect the substrate closely. If you’re tiling over drywall, probe with a screwdriver. Soft, spongy areas indicate water damage and mold risk, those sections must be cut out and replaced with cement board (not drywall) in wet zones. Cut a rectangular patch, remove fasteners, and fit new cement board using stainless-steel screws spaced every 8 inches. Seal seams with alkali-resistant fiberglass tape and thin-set mortar.
For concrete or existing cement board, fill cracks and voids with self-leveling underlayment or polymer-modified patching compound. This prevents hollow spots under tile, which cause cracking and grout failure. Sand smooth once dry. If the floor slopes away from a drain, that’s fine, in fact, it’s ideal for water runoff. But if it’s uneven enough to pool water, grind down high spots or pour self-leveling compound to create a 1/4-inch drop per 10 feet toward the drainage area.
Installing Your New Bathroom Tiles
Prime your substrate with a bonding primer if using drywall (though cement board doesn’t require it). Let it dry per label instructions, usually 2–4 hours.
Mix your thin-set mortar (a polymer-modified cement-based adhesive) to a peanut butter consistency. Too thick and it won’t spread: too thin and tiles float. Work in 4–5 square feet at a time, thin-set hardens fast. Use a notched trowel (typically 1/4 × 3/8 inch for wall tiles, 1/2 inch for floor tile) held at 45 degrees to comb ridges into the mortar. Those ridges collapse when you press tile, creating full coverage.
Place tiles with a slight twisting motion, pressing firmly. Use tile spacers (usually 1/16 to 1/8 inch) to keep grout lines uniform. Check level every few tiles with a 4-foot level. Crooked tile now means cutting and resetting later.
Wait at least 24 hours, longer in cool, damp conditions, before grouting. Then mix unsanded grout for narrow lines (1/8 inch), sanded grout for wider lines. Apply grout with a grout float, working diagonally across tiles. Pack grout into gaps, then wipe diagonals with a damp sponge to clean excess without pulling grout out. Let cure per manufacturer specs (usually 72 hours) before exposing to water. Cost estimates for bathroom remodeling projects typically account for both labor and materials: DIYers often underestimate prep and grout-cure time. Use epoxy grout in showers and high-moisture zones, it resists mildew better than Portland cement grout, though it’s trickier to apply and clean up. Resources like home renovation planning guides break down typical timelines and help you set realistic expectations for project phases.
Conclusion
A bathroom tile renovation demands attention to detail, especially substrate prep and curing times, but rewards that effort with a waterproof, beautiful finish that lasts decades. The key is honest assessment of your current conditions, the patience to fix problems before tiling, and resisting the urge to rush drying and curing stages. When you stand back and see professional-looking results, you’ll know the prep work was worth every minute.