

Table of Contents
ToggleA bathroom renovation in Melbourne is one of the most practical home improvement investments you can make. Whether your bathroom is stuck in the 1990s or simply needs better functionality, a thoughtful upgrade delivers both immediate comfort and long-term property value. This guide walks you through the essentials, from setting realistic budgets and understanding local codes to choosing materials and deciding whether to hire professionals or tackle projects yourself. Melbourne’s competitive renovation market and climate considerations make planning upfront crucial, so you know exactly what you’re getting into before the first tile is removed.
Key Takeaways
- Bathroom renovation in Melbourne typically costs $15,000–$60,000+ depending on scope; building a 15–20% contingency buffer and setting a detailed budget breakdown prevents cost overruns.
- Separate functional needs from design wants during planning—assess problems like poor ventilation or cramped layouts first, then add upgrades like heated towel rails or larger showers within your budget.
- Modern Melbourne bathroom design emphasizes clean lines, neutral palettes, larger-format tiles, and efficient ventilation to combat moisture in the region’s humid climate.
- Victorian building codes require permits for structural, plumbing, or electrical work; ventilation is mandatory (either an extract fan or external window), and hiring licensed professionals for plumbing, electrical, and waterproofing protects you from costly mistakes and compliance issues.
- A hybrid approach—hiring professionals for technical work (plumbing, electrical, waterproofing) while DIY-ing finishing touches (painting, tiling, hardware)—maximizes budget efficiency and reduces risk.
- Smart storage strategies like wall-hung vanities, vertical shelving, recessed shower niches, and larger mirrors make compact Melbourne bathrooms feel spacious without expensive structural changes.
Planning Your Melbourne Bathroom Renovation
A successful bathroom renovation starts with honest planning. Before you scroll through design inspiration, figure out what you actually need, what your space allows, and what your wallet can handle. Most homeowners underestimate both timeline and cost in the early stages, building in a 15–20% contingency buffer is standard practice, not pessimism.
Start by assessing your current bathroom’s functional problems. Is the layout cramped? Does ventilation cause mold? Are fixtures failing? List these issues first: they drive necessity. Then layer in the wants, heated towel rails, a larger shower, updated vanity. Separating needs from wants helps you allocate budget where it matters most.
Measure your space precisely. Bathroom dimensions, ceiling height, door swing, window placement, and plumbing/electrical locations all constrain your options. Take photos and note which walls are load-bearing (important if removing walls). A rough sketch with measurements is your foundation for everything that follows.
Setting A Budget And Timeline
Bathroom renovations in Melbourne typically range from $15,000 to $50,000+, depending on size, finishes, and complexity. A modest refresh (new tiles, fixtures, paint) might cost $15,000–$25,000. A full gut-and-rebuild pushes $40,000–$60,000 or higher if structural work or plumbing relocation is needed.
Create a detailed budget breakdown: flooring, wall finishes, fixtures (toilet, vanity, taps), lighting, ventilation, plumbing, electrical, labor, and contingency. Get at least three quotes from local contractors if hiring professionals. Factor in the Australian climate, moisture resistance and durability matter more in Melbourne’s humid, variable weather.
Timelines typically run 4–8 weeks for a standard renovation, longer if structural issues emerge. Account for permit processing (2–4 weeks in Victoria) and material delivery delays. Winter weather can slow outdoor-facing work. Build in buffer time: rushing leads to costly mistakes.
Design Trends For Modern Melbourne Bathrooms
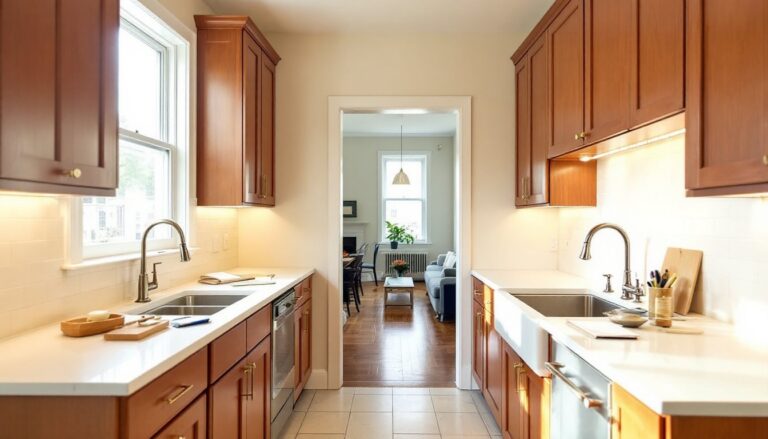
Modern Melbourne bathroom design balances minimalism with warmth. Clean lines, neutral palettes (whites, soft grays, warm timber tones), and functional layouts dominate current trends. Subway tiles remain popular for their timeless appeal, while larger format tiles (600mm × 600mm or bigger) create a sense of space and reduce grout lines, practical for moisture-prone environments.
Showers are trending larger and more open. Walk-in showers with frameless glass screens feel contemporary and work well in compact spaces. Matte black fixtures and hardware add contrast against light walls and tiles. Heated towel rails and underfloor heating in wet areas are increasingly standard, not luxury add-ons.
Vanities are shifting toward integrated storage, open shelving below, clever drawer pulls, and fitted cabinetry maximize small footprints. Lighting is layered (ambient, task, accent) rather than a single overhead fixture. Ventilation that’s quiet and efficient is non-negotiable: moisture control prevents mold and extends finishes.
Materials lean toward durability: porcelain over ceramic, solid-surface or stone countertops, and quality waterproofing systems. Natural timber accents (within moisture limits) warm up cool, industrial aesthetics. Texture matters too, terrazzo, timber-look porcelain, or stone veneers add visual depth without sacrificing functionality. Design inspiration is everywhere, but filtrate through a practical lens: Does it age well? Is it easy to clean? Will it still look fresh in ten years?
Essential Elements: Layout, Fixtures, And Materials
Your bathroom layout should flow logically: toilet, sink/vanity, and shower positioned to avoid awkward traffic patterns. Minimum clearances matter: at least 600mm from centerline of toilet to walls or fixtures on either side, 1200mm in front of toilet for comfort. Showers need 900mm minimum width: 1000mm+ feels spacious.
Fixtures are the workhorses. Choose water-efficient taps and showerheads (WELS rating 3-star or higher saves water and money). Toilets should be dual-flush dual-flush (3L full, 4.5L half-flush) to meet Australian standards. Vanities in small bathrooms should be 750–900mm wide: go wider only if space allows. Mirrors should span the vanity width for proportional, functional lighting.
Materials set durability and maintenance expectations. Porcelain tiles (not ceramic) resist moisture better and suit floor and wall applications. Grout should be epoxy or urethane-based, not cement-based, which stains and cracks over time. Waterproofing membranes on shower floors and walls are non-negotiable, Schlüter or similar systems prevent costly water damage behind walls.
Flooring in bathrooms should never be carpet: porcelain, natural stone, or vinyl planks (luxury vinyl plank, or LVP) are standard. For wet areas, ensure non-slip surface. Baseboards should be sealed or moisture-resistant (avoid porous wood). Paint must be bathroom-grade (mold-resistant primer and finish). Using quality, purpose-built materials upfront prevents expensive repairs down the line.
Navigating Local Building Codes And Permits
In Victoria, bathroom renovations are governed by the Building Code of Australia (BCA) and local council requirements. If you’re replacing fixtures only, you may not need a permit. But, structural changes, plumbing relocation, electrical work, or exhaust system changes typically require a building permit.
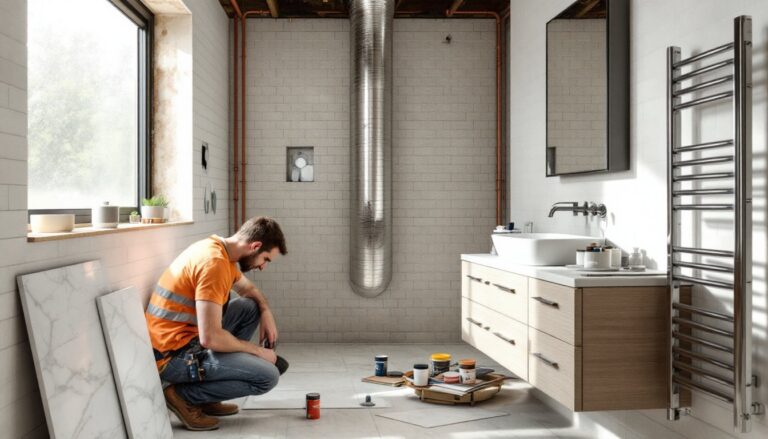
Ventilation is mandatory: bathrooms must have either an extract fan or a window opening to outside (minimum 0.5 m²). The fan should move at least 10 air changes per hour (ACH) and have a humidity sensor or timer. This isn’t cosmetic, mold and moisture damage are serious, costly issues.
Plumbing must comply with the National Construction Code and Australian Standards. Waste pipes must slope correctly (50mm drop per meter for horizontal runs), and vents must be sized properly. If you’re moving plumbing, you may need licensed plumbers and inspections.
Electrical work (lighting, outlets, heated towel rails) requires either a licensed electrician or sign-off by one. Bathrooms are wet areas: outlets near sinks must have residual current devices (RCDs, or safety switches). These aren’t negotiable.
Contact your local council early to clarify what requires a permit in your area. Permits add 2–4 weeks and cost $300–$800, but skipping them risks fines, future sale complications, and no insurance coverage if something goes wrong. Most contractors handle permits as part of their service: factor this into quotes. DIY renovators must submit plans and arrange inspections themselves.
DIY Vs. Professional Installation: What’s Right For You
Decide early: which tasks can you DIY, and which require professionals? Honest self-assessment saves money and frustration.
DIY-friendly tasks include painting, removing old fixtures, demolition (with proper safety gear), tiling simple walls, and installing basic trim or accessories. You’ll need a cordless drill, grout float, tile cutter, level, and safety gear (gloves, dust mask, goggles). These projects teach you skills and save labor costs.
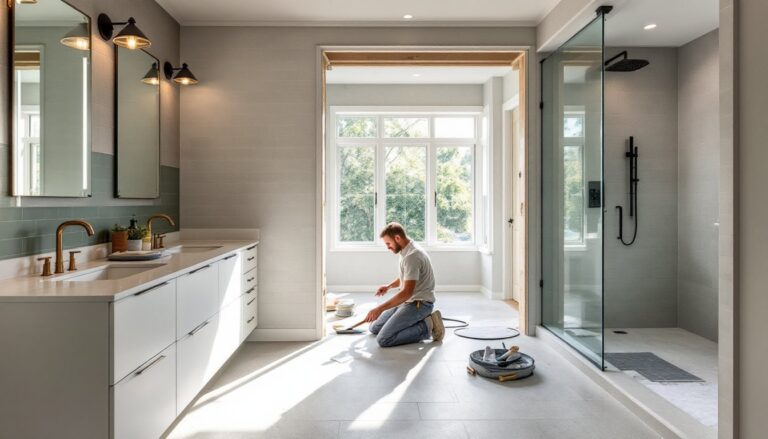
Hire professionals for: plumbing, electrical, waterproofing membrane installation, major structural work, and fitting complex fixtures. A plumber ensuring correct slope and venting prevents hidden damage. An electrician ensures safety-switch compliance. Waterproofing a shower is deceptively complex: mistakes cause mold and water intrusion that costs thousands to fix later.
A hybrid approach is smart: hire the technical work (plumbing, electrical, waterproofing), DIY finishing touches (painting, simple tiling, hardware installation). This cuts labor costs while avoiding costly mistakes. Check references for any contractor you hire: ask to see recent bathrooms they’ve renovated and speak to past clients about timeline and budget accuracy.
If you choose mostly DIY, account for a longer timeline and plan for learning curves. One misstep, say, incorrect shower base slope, can lead to expensive remediation. Professionals work efficiently and carry insurance: budget for quality work, not just hourly rates.
Maximizing Space And Storage In Smaller Bathrooms
Melbourne homes often have compact bathrooms, so smart storage and layout tricks are essential. Vertical storage is your ally: shelving above the toilet, recessed niches in shower walls, and tall cabinets beside the vanity all add capacity without eating floor space.
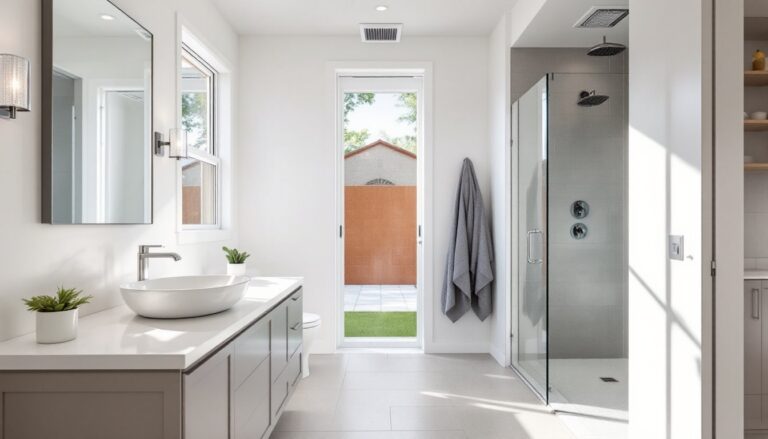
Vanity design matters enormously. A wall-hung vanity (rather than full base cabinetry) creates the illusion of more floor space and makes cleaning easier. Open shelving below holds towel baskets and bins: closed storage above keeps clutter hidden. A mirror extending to the ceiling magnifies perceived space and reflects light.
Shower enclosures benefit from frameless glass doors or a slick tiled wall (instead of a shower curtain). These feel open and spacious. Built-in storage niches in the shower (recessed 150mm into the wall framing) hold bottles without adding bulk. Alternatively, corner shelves or a tension rod with hanging organizers keep supplies accessible.
Lighting multiplies perceived space too. Bright, layered lighting (vanity lights, ceiling fixture, accent lighting) energizes a small room far more than a single overhead bulb. Light-colored walls and large mirrors amplify this effect.
For plumbing and fixtures, consider a corner toilet or a compact elongated bowl to free floor space. A curbless (walk-in) shower with a linear drain eliminates a visual barrier and adds accessibility. Fold-out seats or benches stow neatly and provide flexibility. These details don’t cost much more but dramatically change how a tight bathroom feels and functions.