


Table of Contents
ToggleA dated bathroom doesn’t just hurt your home’s aesthetics, it impacts daily comfort and resale value. Whether you’re dealing with cracked tile, outdated fixtures, or poor ventilation from Florida’s humidity, a bathroom renovation in Orlando is one of the smartest investments a homeowner can make. Orlando’s hot, humid climate demands specific material choices and design considerations that differ from other regions. This guide walks you through everything from setting a realistic budget to choosing moisture-resistant finishes and finding trustworthy contractors who understand Central Florida building codes. You don’t need to be a pro to plan a successful renovation: you just need the right information and a clear roadmap.
Key Takeaways
- A bathroom renovation in Orlando should prioritize moisture-resistant materials and proper ventilation to combat Florida’s hot, humid climate and prevent mold and water damage.
- Budget realistically for your bathroom renovation cost: basic cosmetic refreshes range $3,000–$7,000, mid-range remodels $10,000–$25,000, and full gut renovations exceed $40,000, plus a 15–20% contingency for unexpected issues.
- Install an exhaust fan sized for your bathroom’s square footage and vent directly outside to eliminate humidity; this is non-negotiable in Florida’s climate.
- Prioritize investment in the shower enclosure, vanity, and flooring with quality materials like porcelain tile and epoxy grout to prevent costly leaks and water damage.
- Always hire licensed contractors for plumbing, electrical, and structural work; verify Florida licenses with the DBPR, get written estimates from at least three sources, and establish clear payment schedules tied to project milestones.
- Obtain all required permits for plumbing, electrical, and structural work in Orlando—they add time upfront but protect your investment and future resale value.
Planning Your Orlando Bathroom Renovation
Before you pick a single tile or faucet, you need a solid plan. Start by assessing what’s actually broken versus what’s just outdated. A bathroom with poor drainage, soft spots in the subfloor, or mold behind the walls requires different work (and budget) than one that simply needs new fixtures and paint.
Walk through your bathroom with a notepad and look for:
• Cracks in tiles or grout
• Water stains on the ceiling or walls
• Soft, spongy flooring (sign of water damage)
• Rust on fixtures
• Poor ventilation or humidity buildup
• Outdated plumbing (old shut-off valves, corroded pipes)
These structural and plumbing issues must be fixed first. Cosmetic upgrades built on a damaged foundation will fail fast in Orlando’s climate.
Setting Your Budget and Timeline
A bathroom renovation cost in Orlando ranges widely depending on scope. A basic cosmetic refresh (new paint, fixtures, hardware) might run $3,000–$7,000. A mid-range remodel with new flooring, vanity, and shower surround typically costs $10,000–$25,000. Full-gut renovations with structural repairs, replumbing, and high-end finishes easily exceed $40,000.
According to local cost estimates, bathroom remodeling costs in Orlando vary based on the project’s complexity and material choices. Establish your budget early and add a 15–20% contingency for unexpected issues. Once you strip drywall, you often find surprises.
Timeline depends on scope. A cosmetic refresh takes 2–3 weeks. A mid-range remodel runs 4–8 weeks. A full gut renovation with structural work can stretch 8–12 weeks. Factor in permit review time, Orlando requires permits for plumbing, electrical, and structural work, which can add 1–2 weeks for approval.
Decide upfront whether you’re doing this work yourself (if you have the skills) or hiring contractors. This affects both timeline and budget. Be honest about your DIY limitations: plumbing and electrical work in Florida often requires licensed professionals.
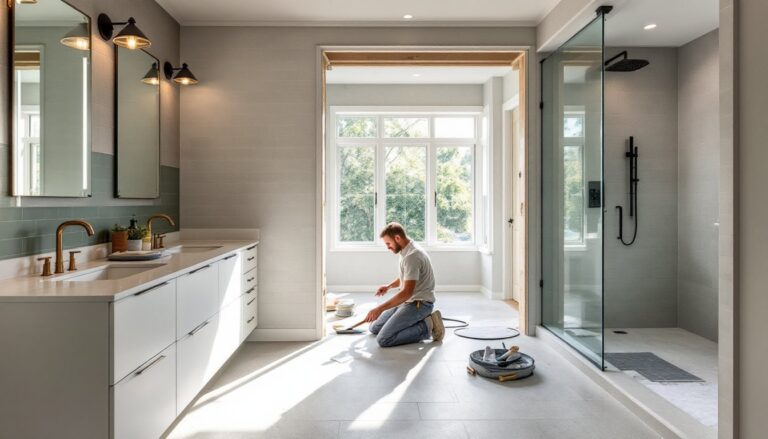
Essential Design Considerations for Florida Bathrooms
Orlando’s climate, hot, humid, and prone to occasional flooding, demands design choices that prioritize moisture resistance and durability.
Ventilation is non-negotiable. Florida’s humidity causes mold and mildew fast. Install a exhaust fan sized for your bathroom’s square footage (generally 1 CFM per square foot, minimum 50 CFM for a typical bathroom). Vent it directly outside, not into the attic. If your bathroom lacks a window, the exhaust fan is your lifeline.
Flooring must handle moisture. Avoid standard drywall in wet areas: use cement board or Durock behind tile. Tile itself is ideal because it’s waterproof and easy to clean. Porcelain tile resists staining and moisture better than ceramic. If you prefer luxury vinyl plank (LVP), ensure it’s rated for bathrooms, not all are.
Lighting matters more than you’d think. Florida’s brightness outside your bathroom means dull lighting inside becomes obvious. Layer your lighting: a bright overhead fixture, task lighting at the vanity (using 3000K–4000K color temperature for a clean, natural look), and accent lighting if you want ambiance. All fixtures in wet areas must be rated for moisture (IP65 or higher).
Color and finishes. Light, neutral tones reflect light and feel less cramped. That said, browsing design inspiration from home decor resources shows that muted greens, soft blues, and warm grays are trending in Florida bathrooms and suit the regional aesthetic well. Matte finishes hide water spots better than glossy ones, a practical consideration in a humid climate.
Key Renovation Areas to Prioritize
Not all bathroom elements deserve equal budget. Prioritize wisely.
The shower or tub enclosure is where you spend time and where water causes the most damage. This is not the place to cheap out. A quality tile job with proper waterproofing (using a shower pan membrane and cement board behind all tile) prevents costly leaks into the subfloor and walls. A frameless glass shower door costs more upfront but looks modern and is easier to clean than a framed unit.
The vanity and sink are daily touch points. A sturdy, moisture-resistant vanity (real wood coated with polyurethane, or moisture-resistant plywood) outlasts cheap particle-board units. Pair it with a quality faucet: you’ll use it thousands of times. A single-handle faucet is easier to clean around than a spread-set with separate handles.
Storage and organization prevent clutter and humidity buildup. Include at least one ventilated shelf, drawer, or cabinet for toiletries. Open shelving looks nice but collects dust: consider a mix of open and closed storage.
Flooring takes heavy foot traffic and moisture. As mentioned, porcelain tile is the gold standard. Large-format tiles (12″×24″ or bigger) mean fewer grout lines and a cleaner look. Budget for professional installation: poor tile work shows immediately.
Don’t overlook the ceiling. Bathroom ceilings get wet and can yellow or develop mold. Use moisture-resistant drywall (green board or the pricier purple Durock) and paint with a satin or semi-gloss bathroom-specific paint that resists mildew. Pop-up recessed lights or a simple exhaust fan in the ceiling add functionality without cluttering the walls.
Fixtures, Finishes, and Materials Selection
Your material choices directly impact durability and maintenance. Here’s what matters in an Orlando bathroom.
Tile selection: Porcelain is more durable than ceramic: larger format means fewer grout lines. Slate and natural stone are beautiful but porous and stain-prone, not ideal in a humid bathroom unless sealed regularly. Subway tile is classic and affordable, but glass or polished marble subway tiles feel more upscale. Avoid unglazed tile: it absorbs moisture and mold.
Paint: Use bathroom-specific paint with mildew inhibitors. Eggshell or semi-gloss finishes resist humidity better than flat paint. Two coats are standard.
Grout: Choose epoxy grout for tile, especially in showers. It’s pricier than cement grout but resists stains and mold far better. Seal all cement grout within 72 hours of installation.
Fixtures (faucets, handles, trim): Brushed nickel and oil-rubbed bronze hide water spots and fingerprints better than polished chrome. Matte black is trendy but requires frequent wiping to avoid streaks. Choose fixtures with solid brass or stainless steel bodies, not pot metal that corrodes.
Caulk vs. grout: Use 100% silicone caulk where two different materials meet (tile to tub rim, tile to wall corner). Use grout only for tile-to-tile joints. Replace caulk every 3–5 years to prevent mold.
Lighting fixtures: Recessed can lights must be IC-rated (insulation contact) if above insulation. Sconces flanking the mirror should be at eye level, roughly 36–40 inches from the floor. All fixtures must be damp-rated or wet-rated if in or above the tub/shower.
Ventilation: A quality exhaust fan runs quieter and lasts longer. Look for a unit with a damper to prevent outside air from leaking back in. Timer-controlled fans help homeowners remember to vent moisture.
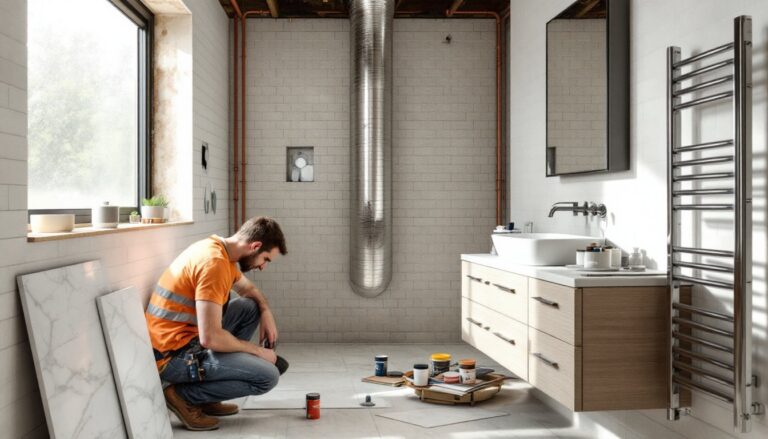
Hiring Contractors and Managing Your Project
Most homeowners hire plumbers, electricians, and tile installers rather than doing everything themselves. This is smart: those trades require licenses in Florida and mistakes are costly.
When hiring, ask for references, verify licenses with the Florida Department of Business and Professional Regulation (DBPR), and get written estimates from at least three contractors. An estimate should itemize labor, materials, permits, and timelines, not just a lump sum.
Red flags include:
• Contractors who won’t provide a written contract
• Significantly lower bids than competitors (usually means shortcuts)
• No references or no license information
• Demanding 50% or more upfront payment
Set expectations upfront:
• Confirm the contractor carries liability insurance and workers’ compensation (required in Florida).
• Agree on how change orders (scope additions) are handled and approved.
• Establish a payment schedule tied to project milestones, not upfront bulk payments.
• Get a written timeline with start and end dates.
HomeAdvisor and similar platforms can help you research local contractors, compare costs, and read reviews. Cross-reference with the Better Business Bureau and local licensing authorities.
Once work starts, communicate clearly. Visit the job site regularly (without hovering). If something doesn’t match your expectations, address it immediately in writing. Document everything with photos.
Permits: Don’t skip them. Orlando requires permits for plumbing work, electrical upgrades, structural changes, and any work affecting the building envelope. Permits cost money and time but protect you. Unpermitted work can become a liability if you sell, and banks may refuse to finance properties with unpermitted renovations. Building inspectors check rough-in work before drywall closes, then final inspections after everything’s complete.
Conclusion
A bathroom renovation in Orlando is a tangible investment in your home’s value and daily comfort. Start by honestly assessing what needs fixing versus what’s cosmetic, set a realistic budget with a contingency, and prioritize the foundation, proper waterproofing, ventilation, and structural integrity. Choose moisture-resistant materials suited to Florida’s climate, and don’t hesitate to hire licensed professionals for plumbing, electrical, and complex tile work. Plan for permits and timelines upfront, and manage contractors with clear communication and written agreements. The result is a functional, beautiful bathroom that handles Florida’s humidity and adds years of enjoyment to your home.